Action management
This document describes how to manage Actions from the Capact Dashboard UI.
Prerequisites
- Cluster with Capact installation. See the installation tutorial.
- An user logged in Dashboard. See the Getting started guide.
Create Action
Click on the Hub section on the left-side menu.
You will see all InterfaceGroups available in the Hub.
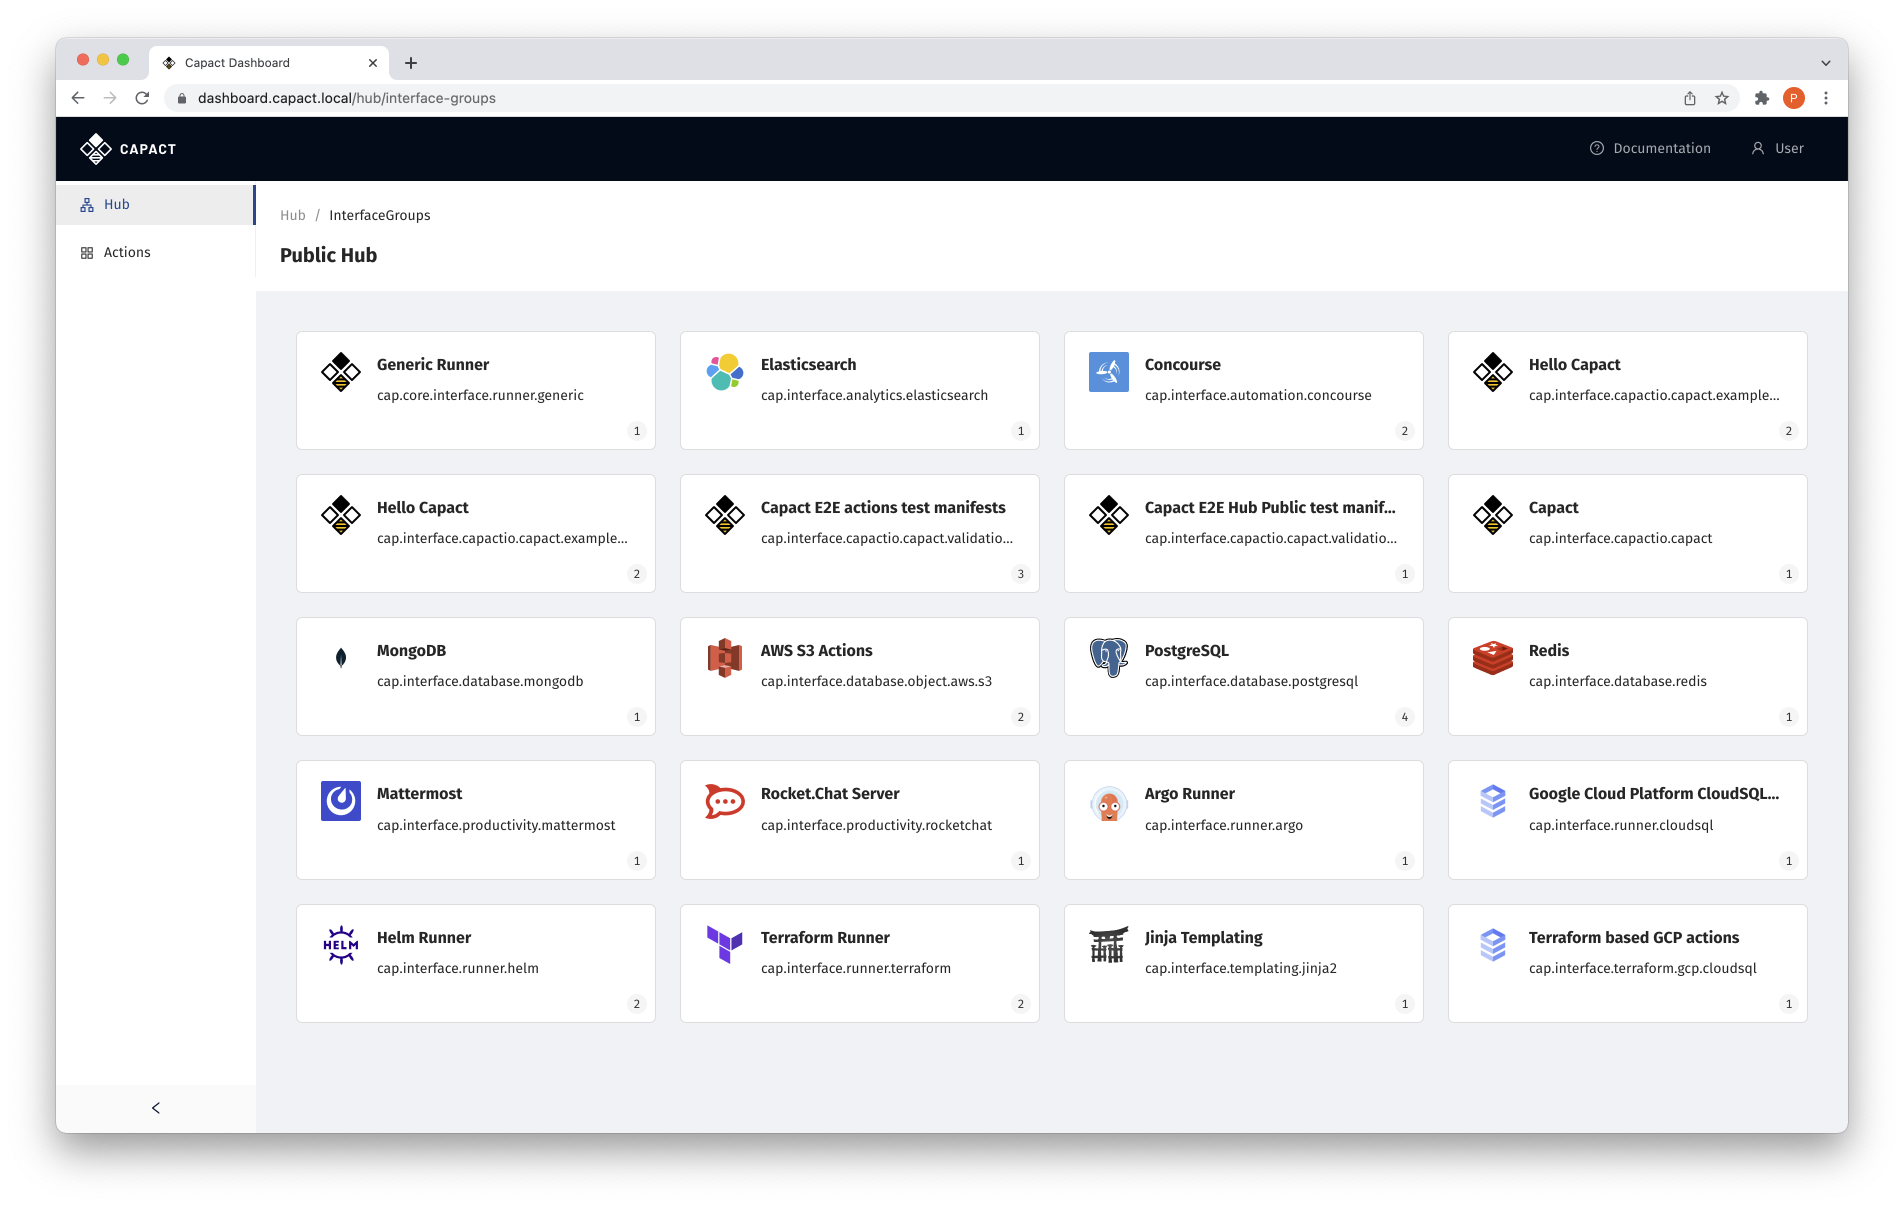
Click on one of the InterfaceGroups tiles, for example PostgreSQL.
See the list of all Interfaces within a given InterfaceGroup.
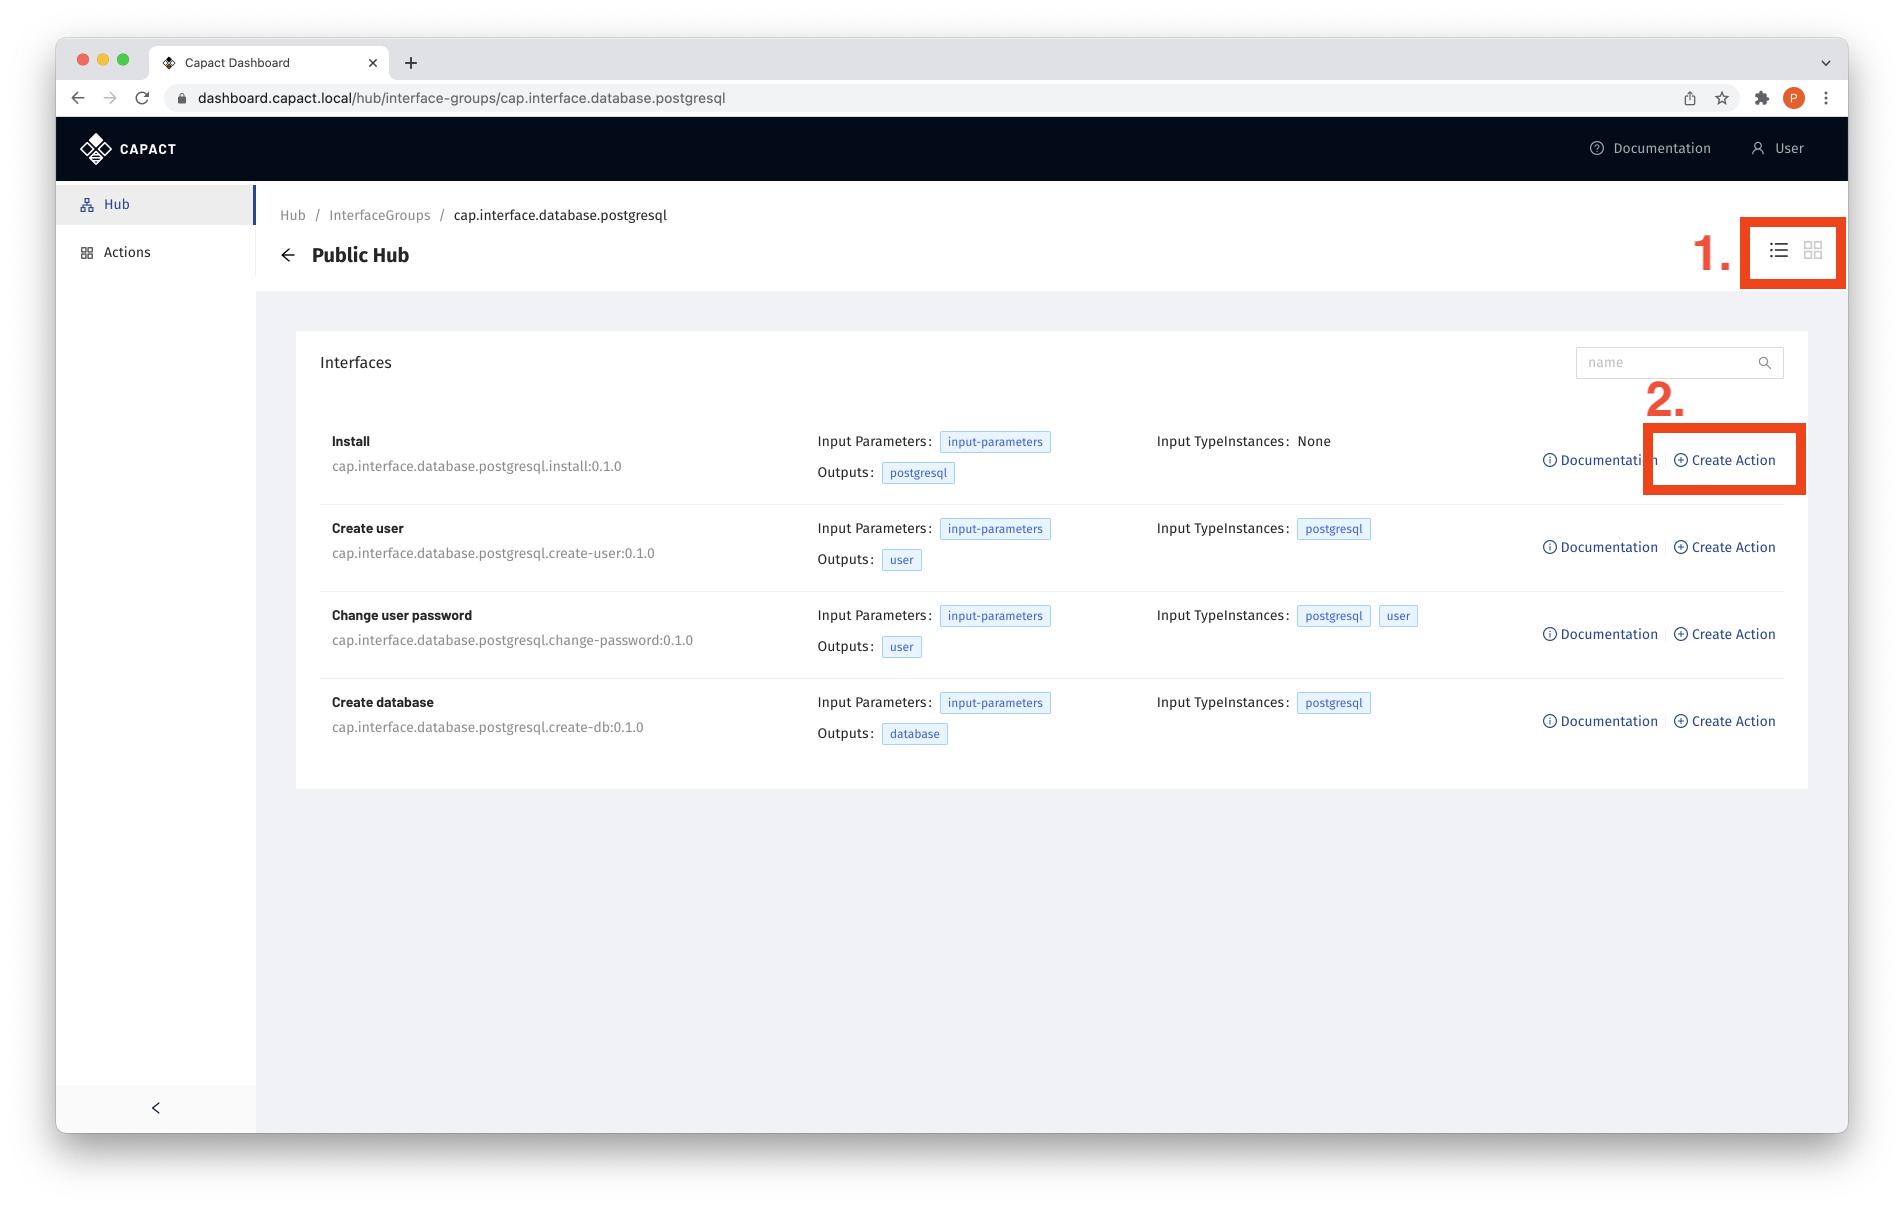
- You can toggle list/card view using the icons (1) on the right top side.
- Create Action for a given Interface using the Create Action link (2).
If the selected Interface requires input parameters, you will be asked to provide them.
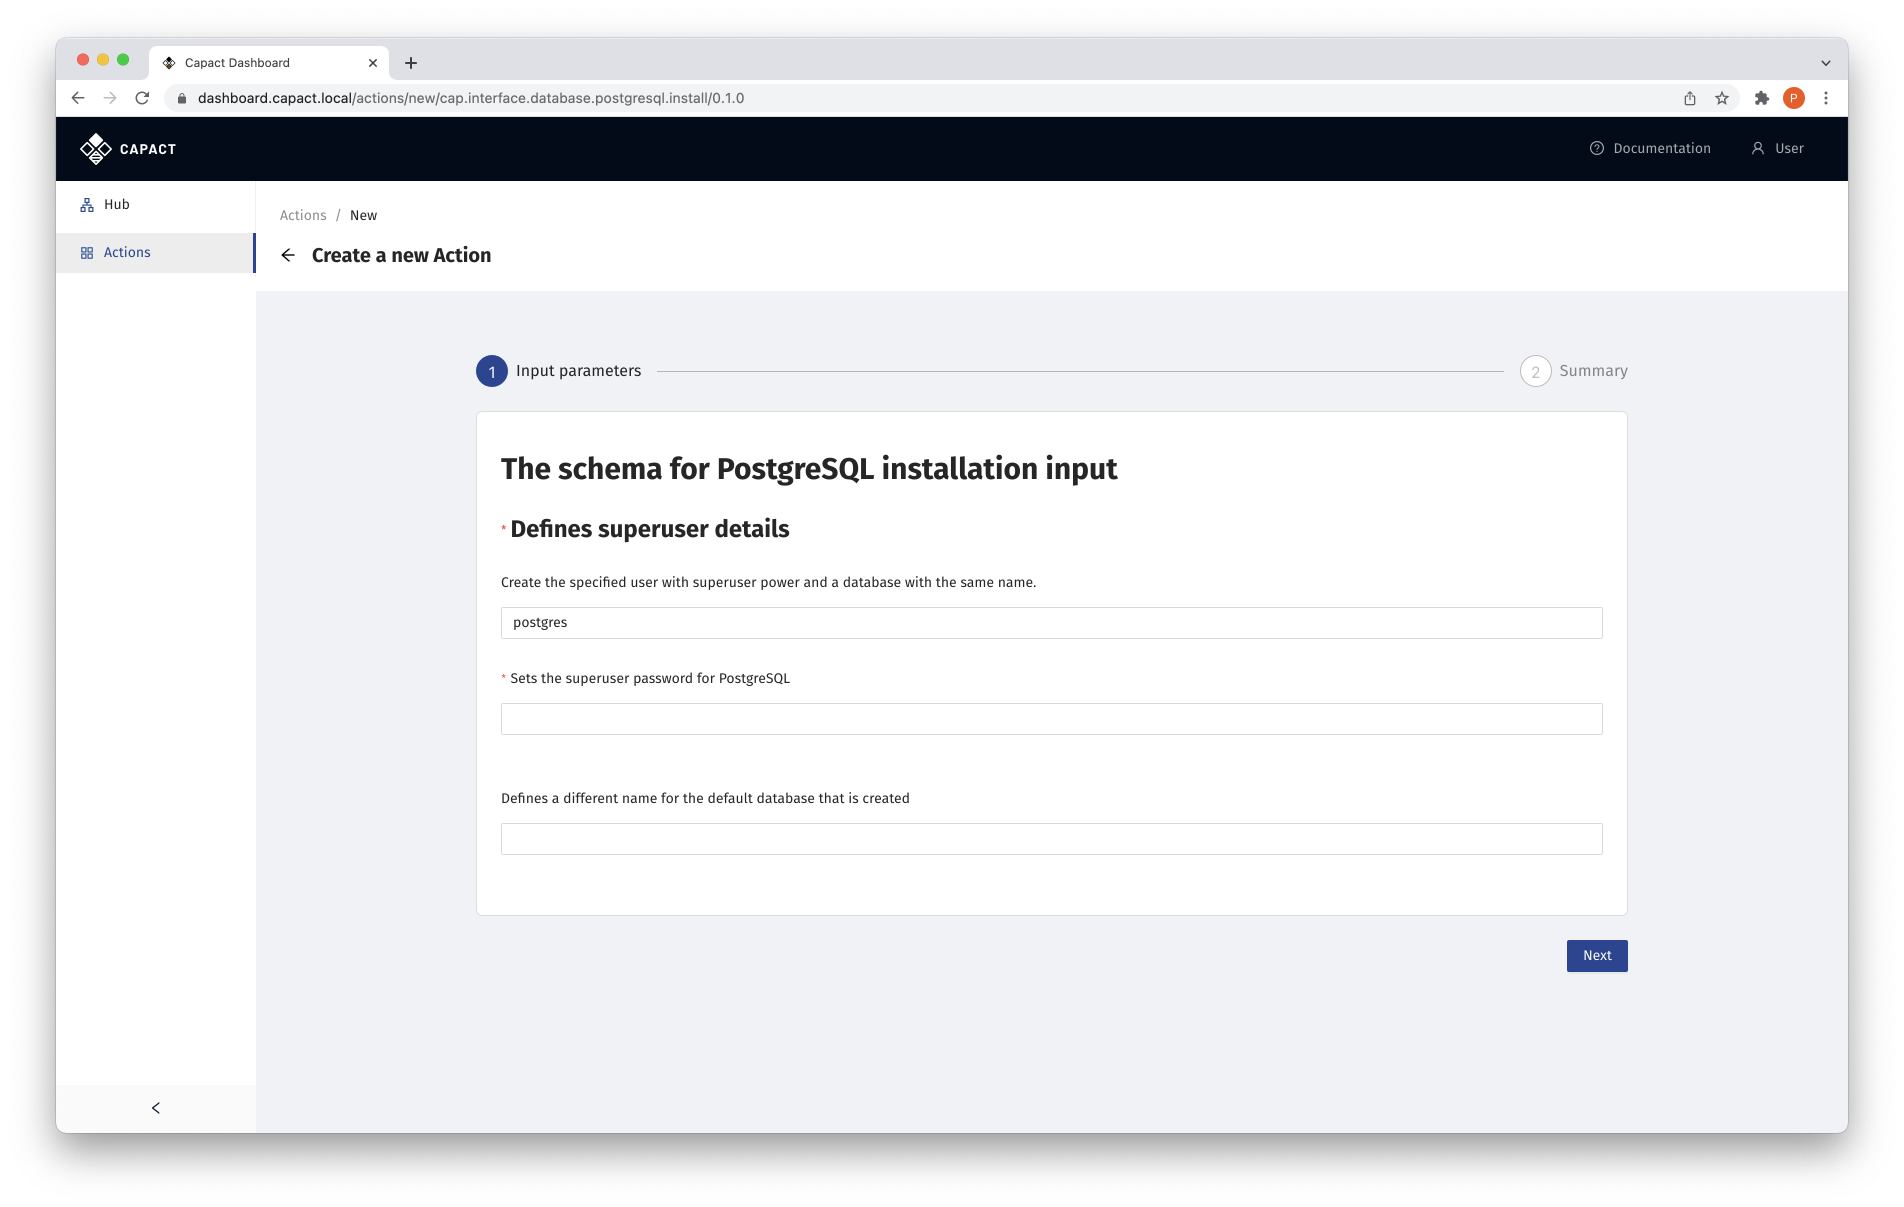
Fill the form with input parameters for Interface, and click Next.
If the selected Interface requires input TypeInstances, you will be asked to provide them.
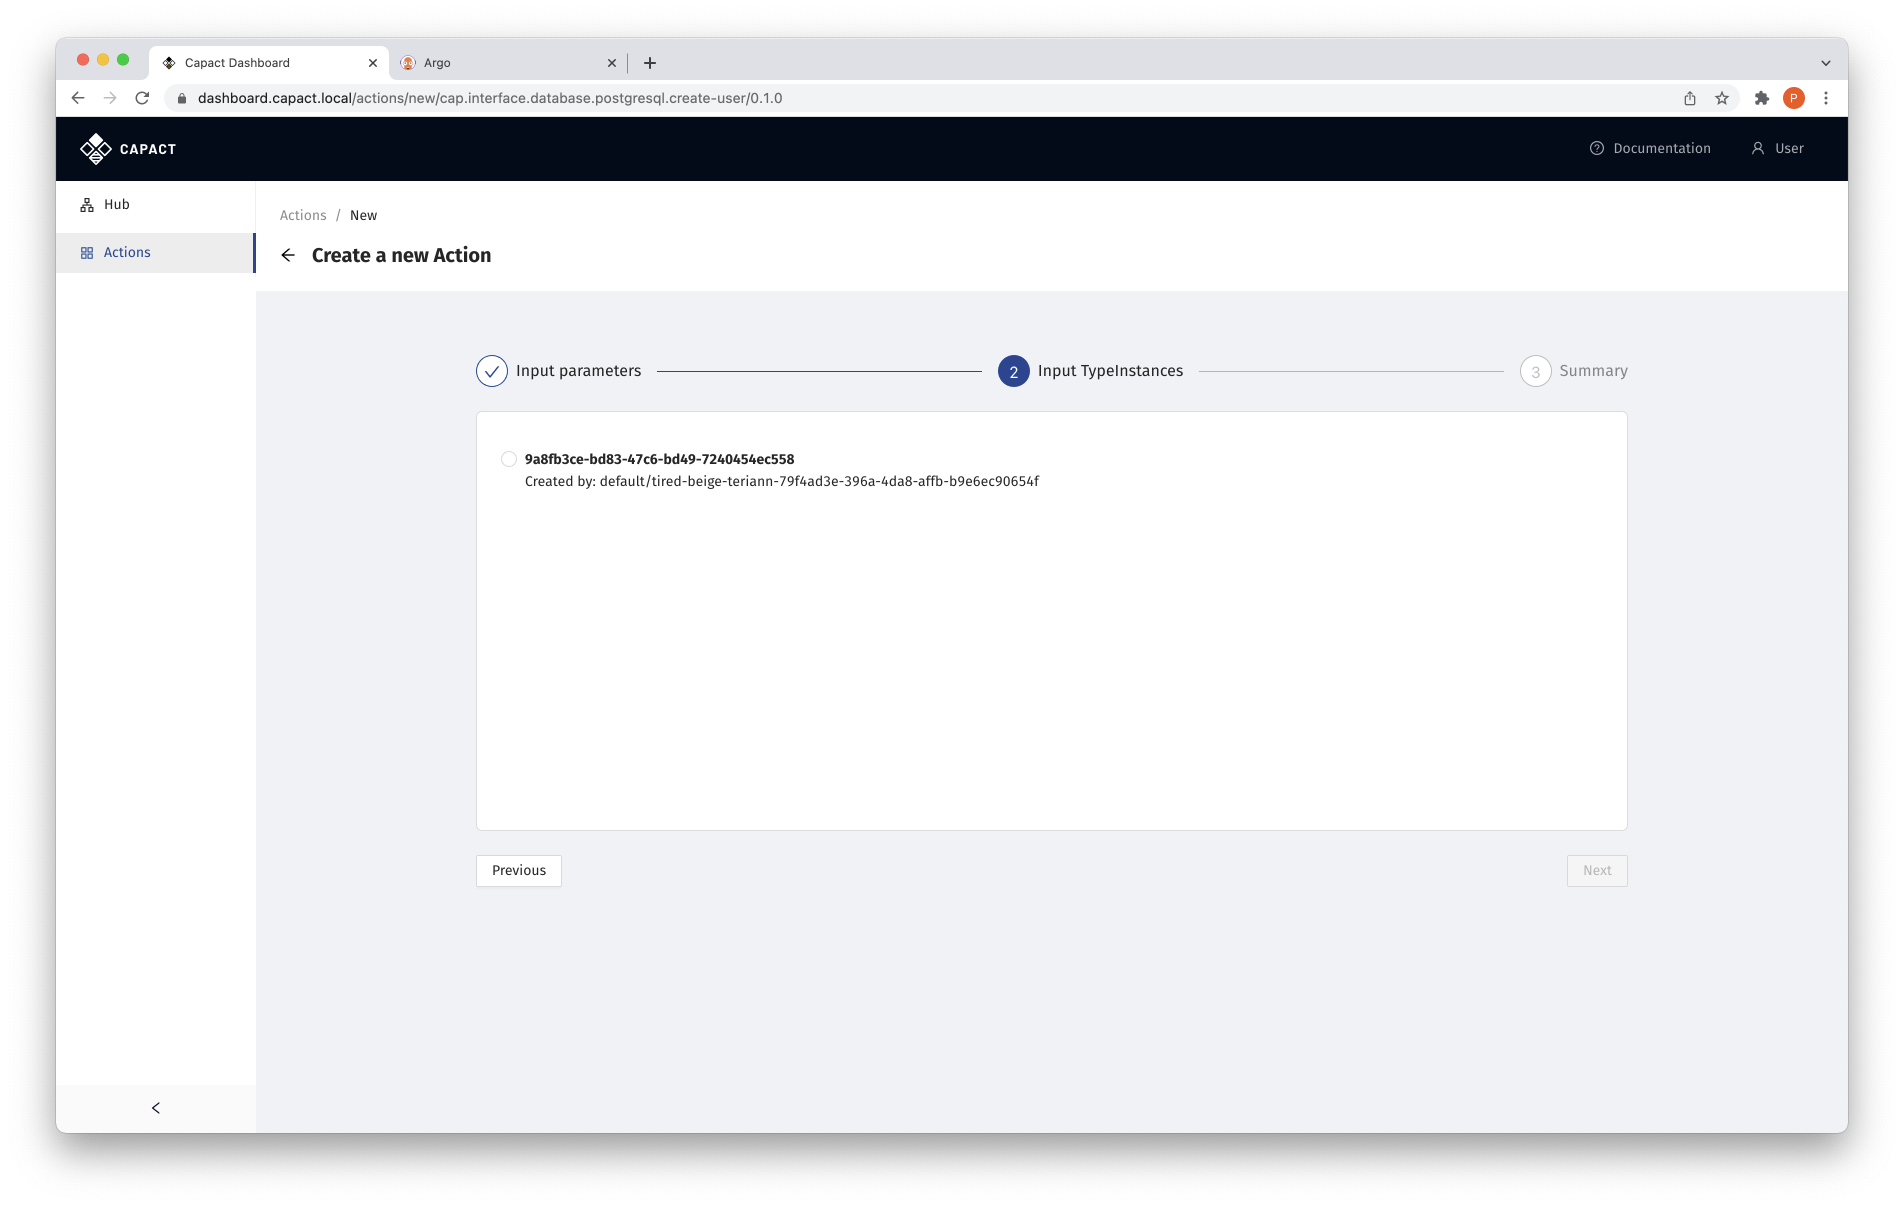
Provide all required input TypeInstances and click Next.
Verify the Action details on the Action Summary.
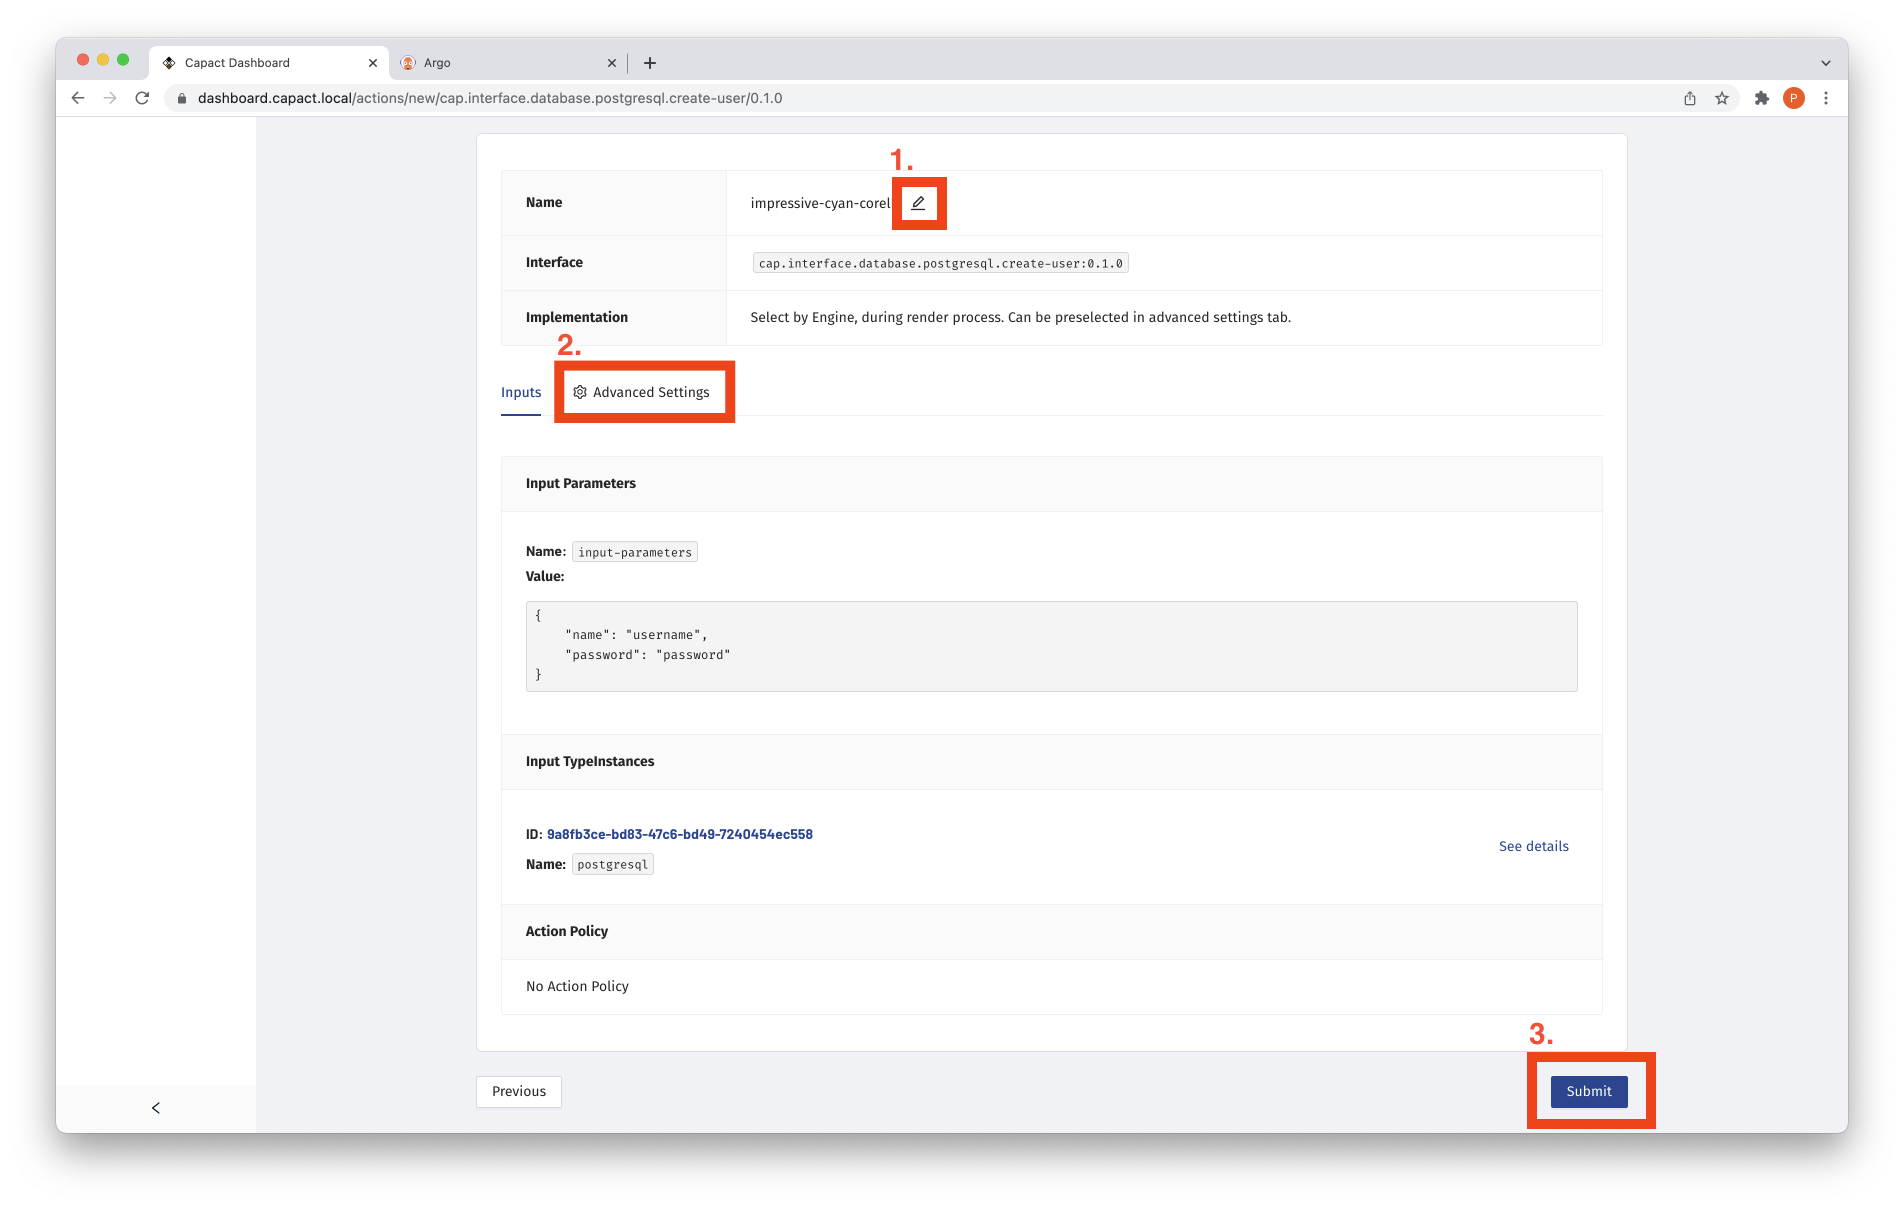
- To edit Action name, click on the pen icon (1) next to the generated Action name.
- Switch to Advanced Settings (2) tab, to optionally select a specific Implementation and provide Implementation-specific input if needed.
- To create the Action, click the Submit button (3).
List Actions
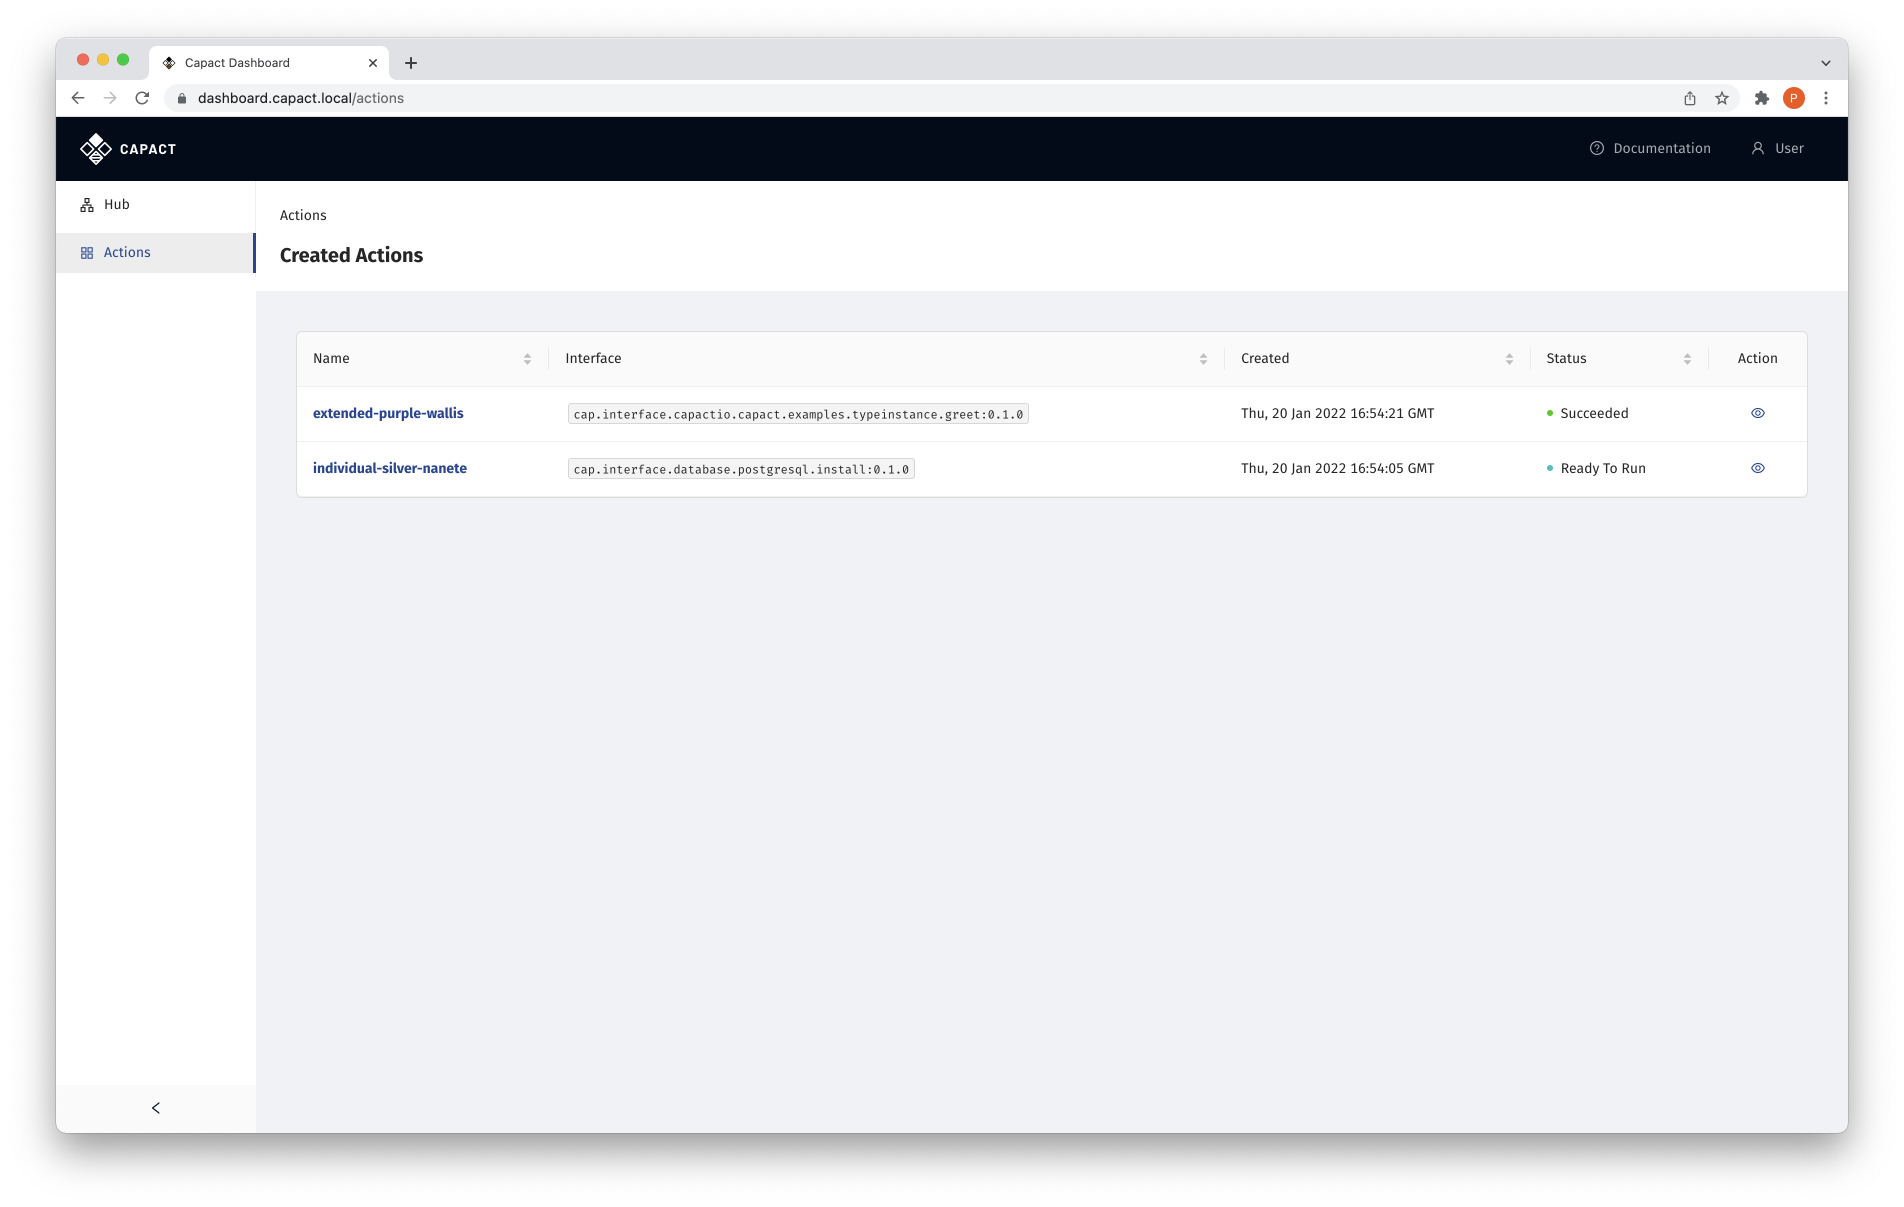
To see the list of Actions, navigate to the Actions section on the left-side menu. You can sort Actions by a given table column by clicking on the specific table header.
Manage single Action
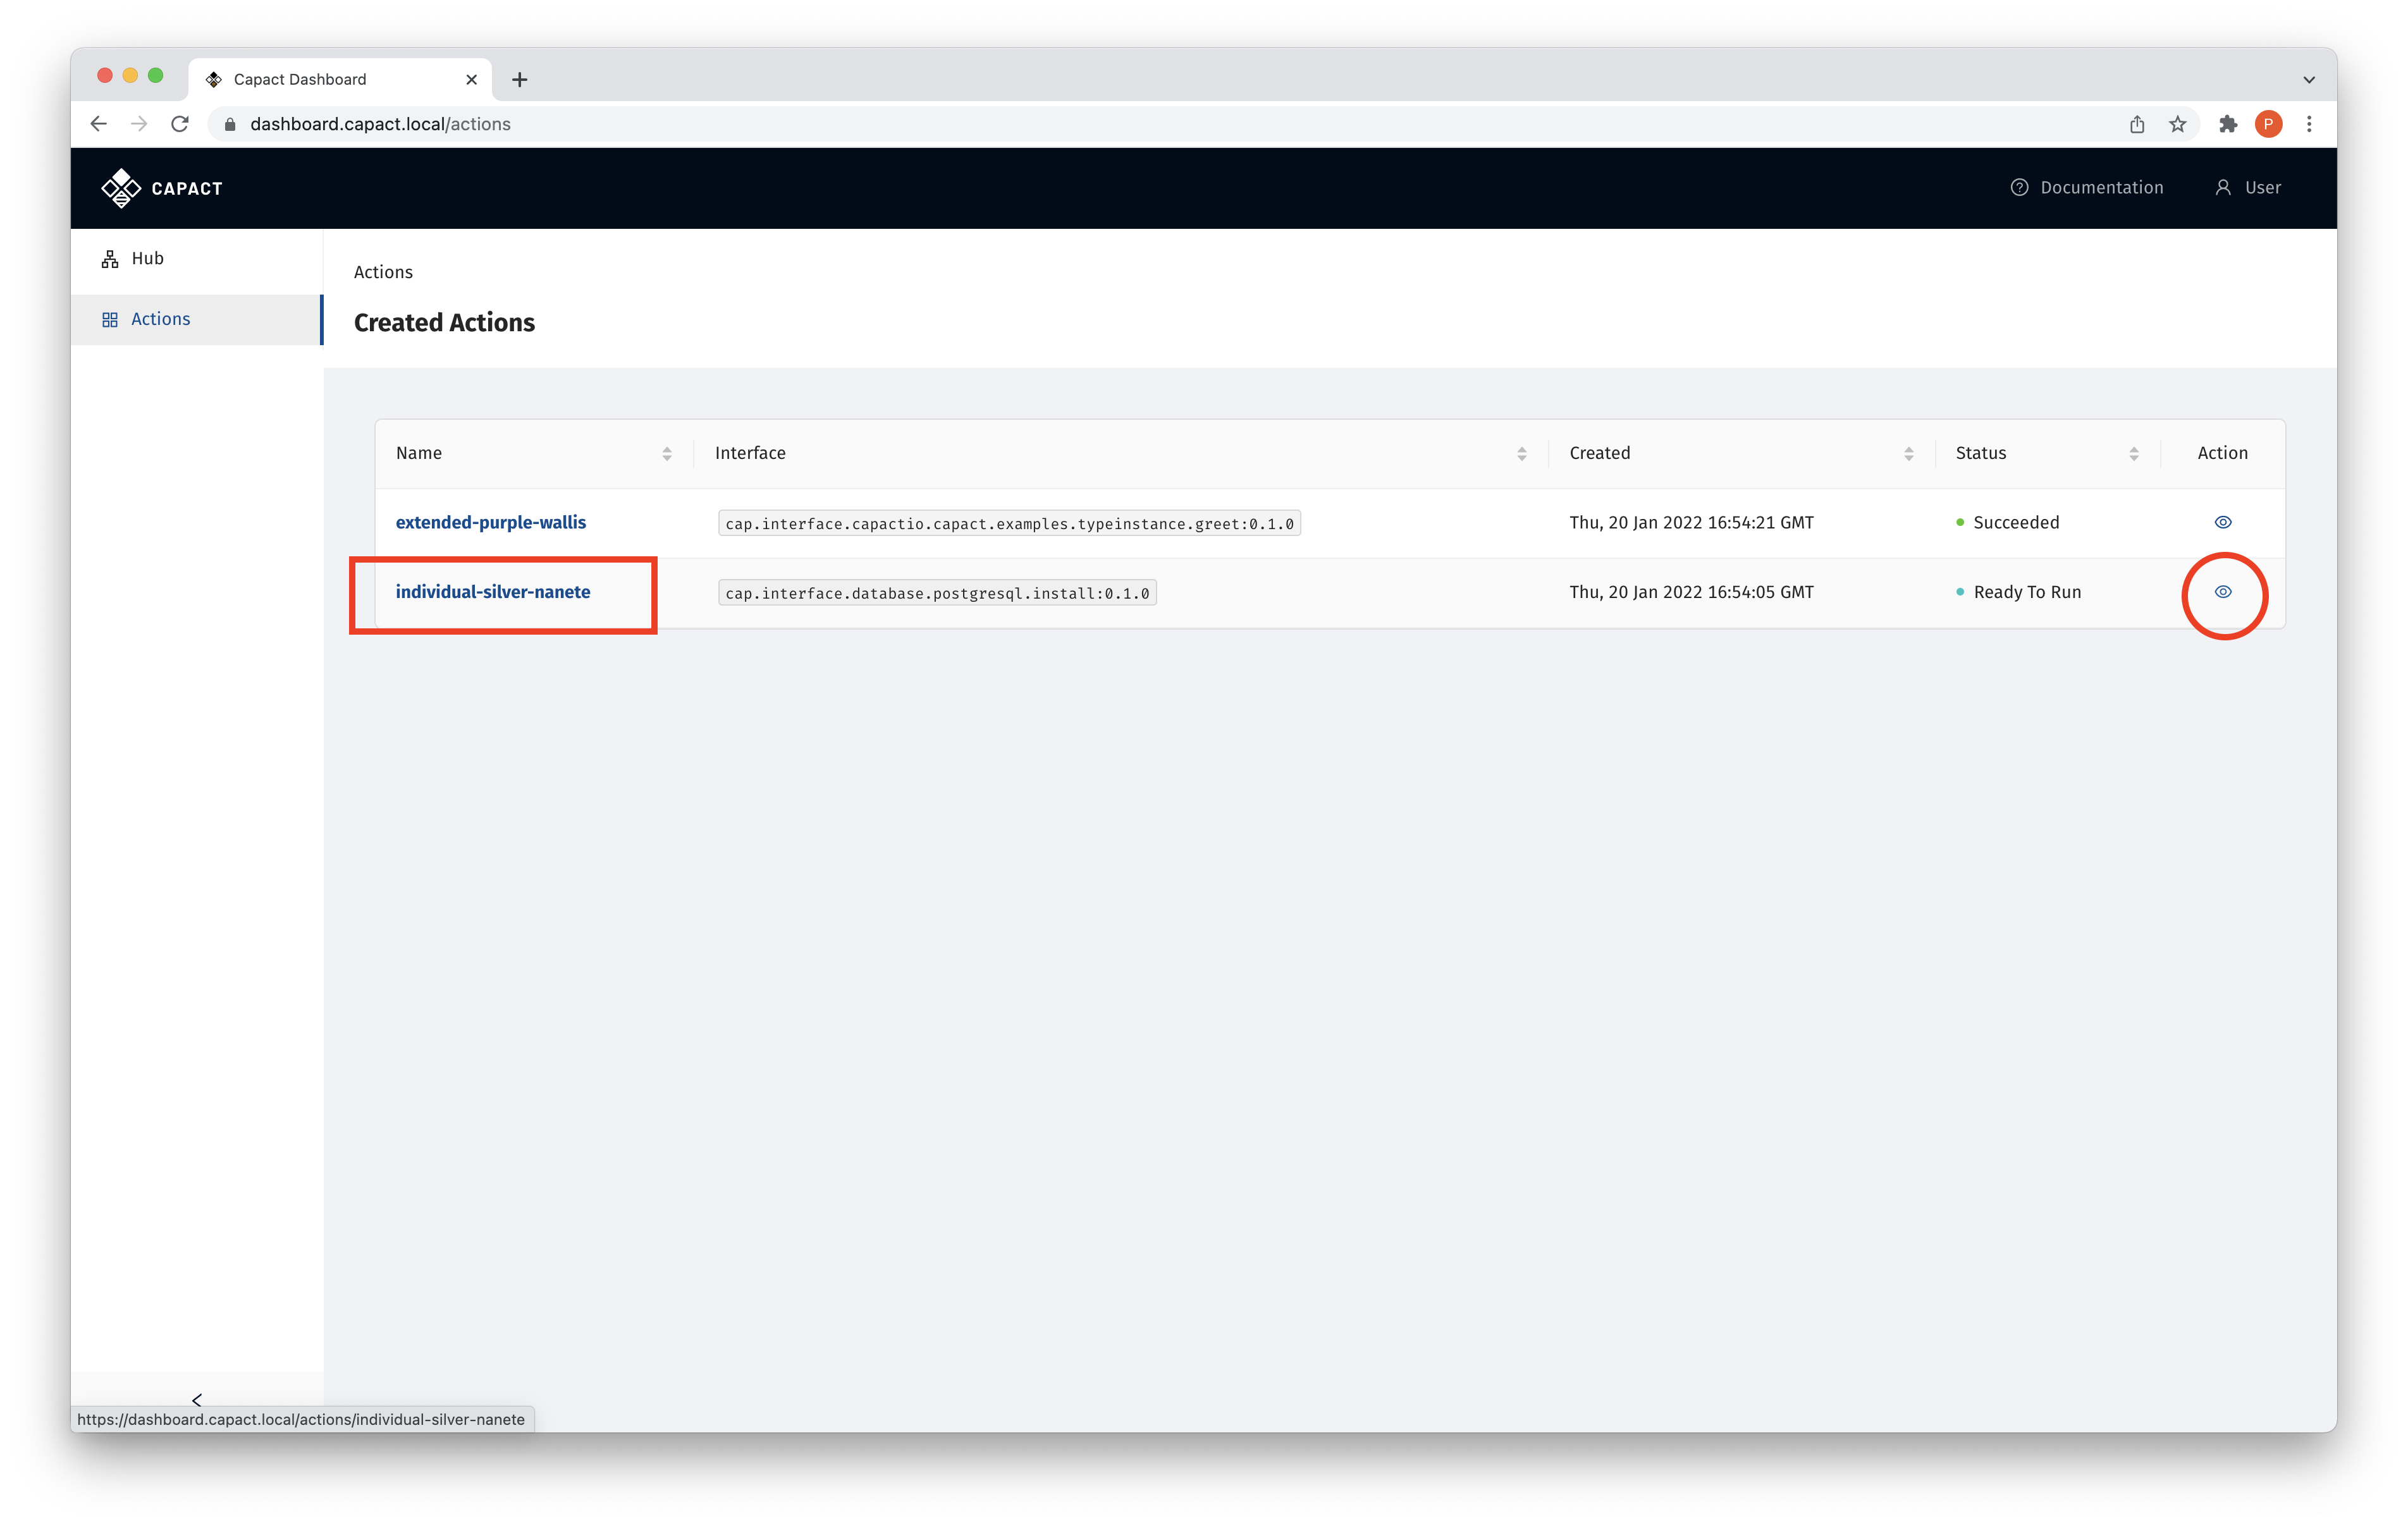
To see the details of a single Action, navigate to the Actions section on the left-side menu, and click either on the Action name or the eye icon:
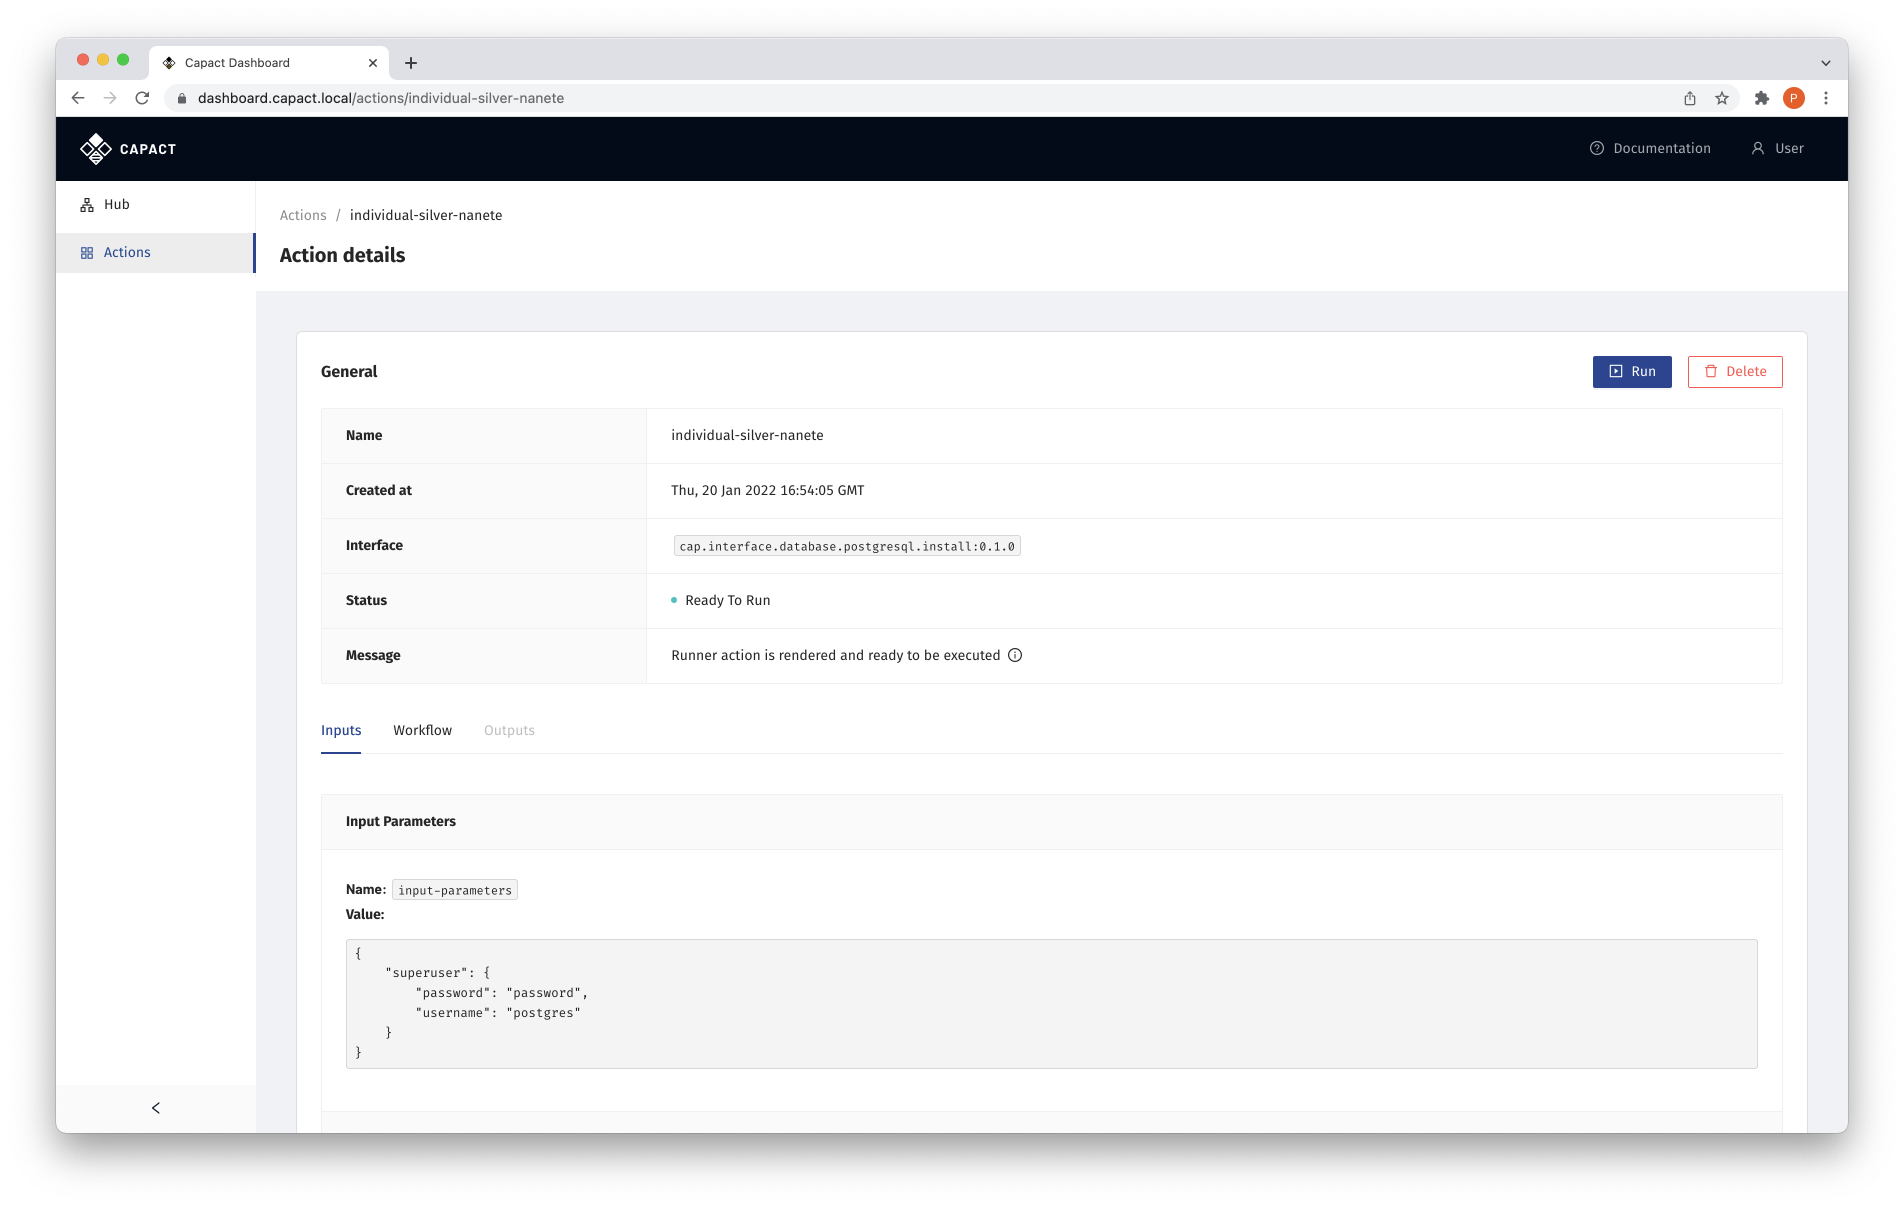
Then you will be navigated to the Action details view, where you can display all data about a given Action - including rendered workflow, inputs and outputs.
Run Action
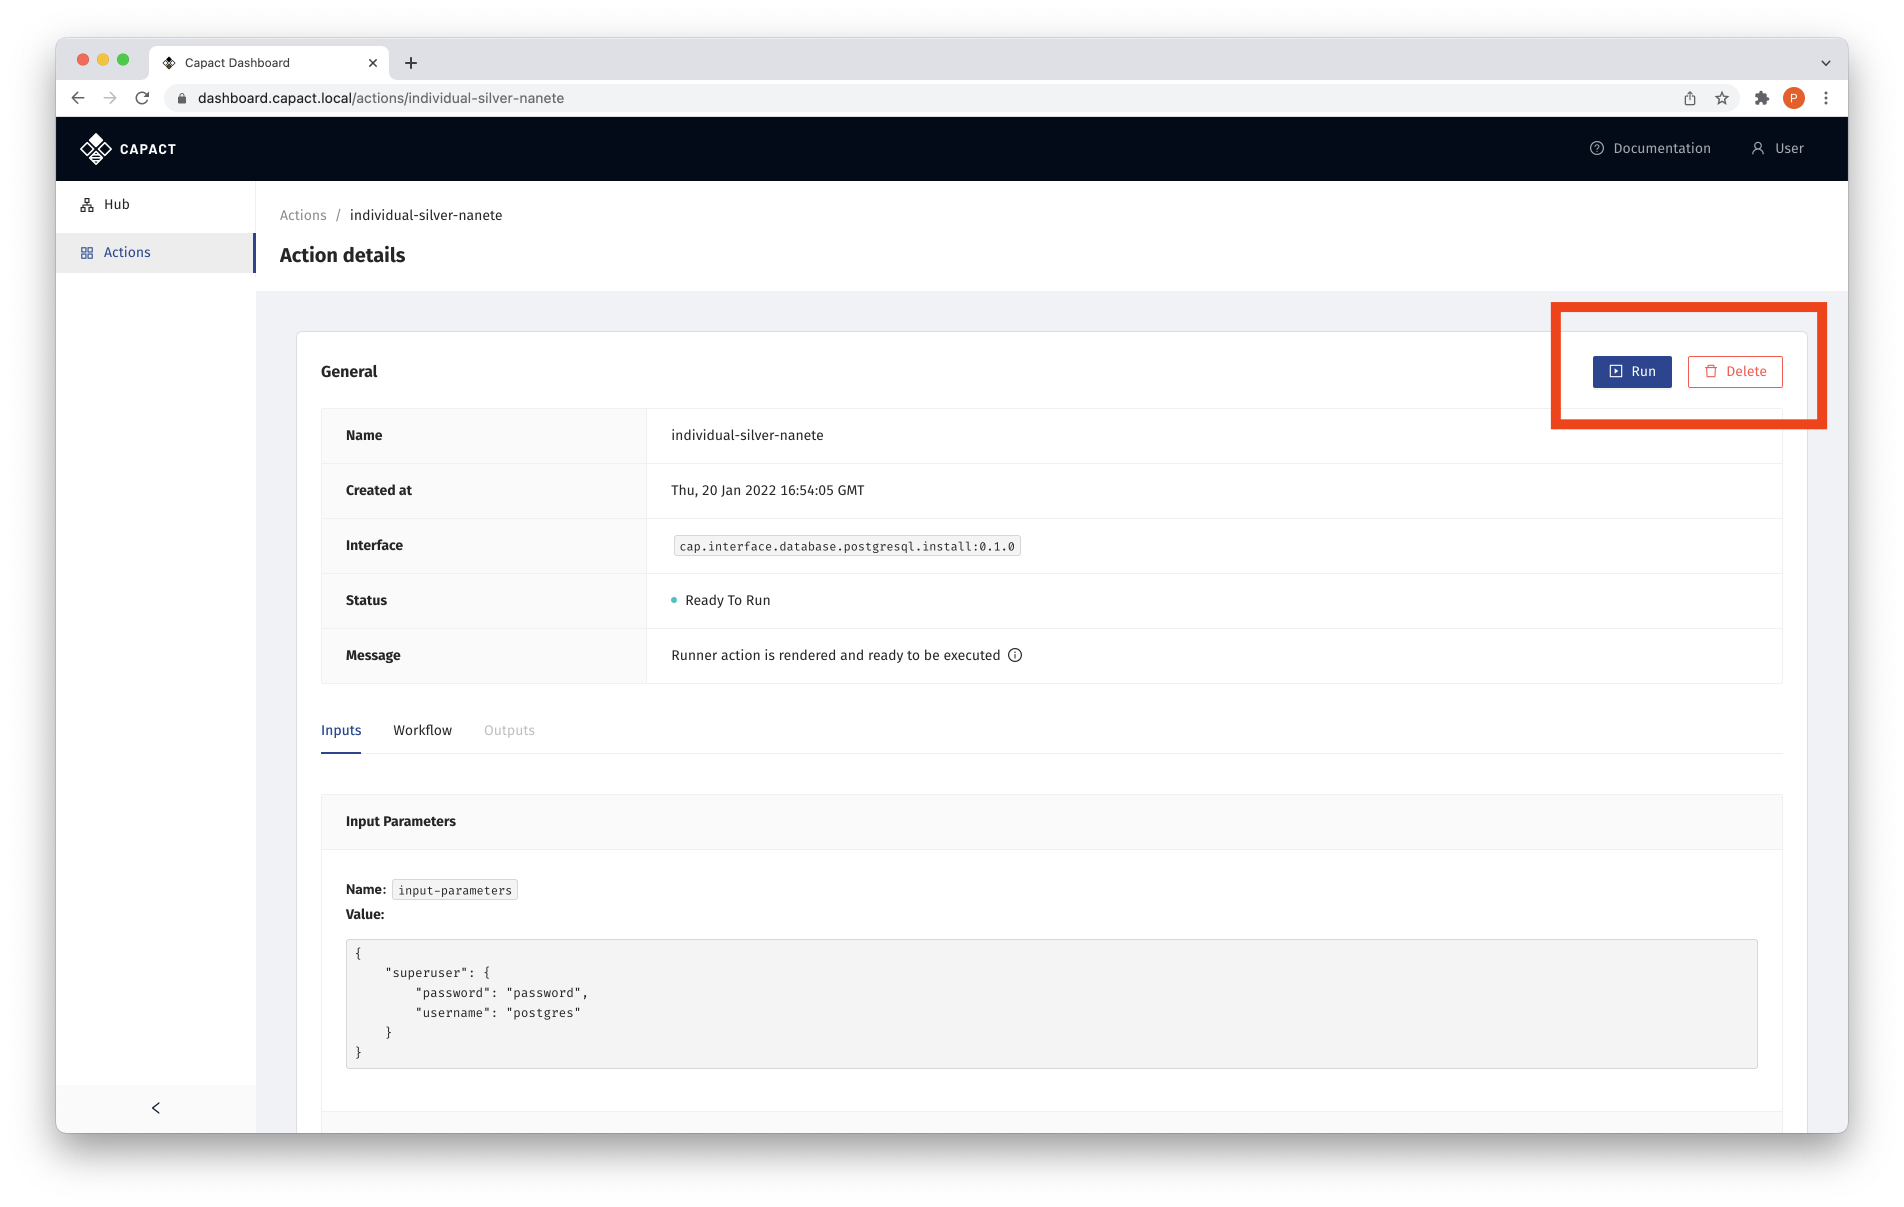
To run a given Action, click the Run button. The button is enabled only if Action is runnable, that is, in the "Ready to Run" state.
See Action workflow
To be able to use Argo Workflows UI link in the Action details view, make the Argo Workflows UI accessible with the following command:
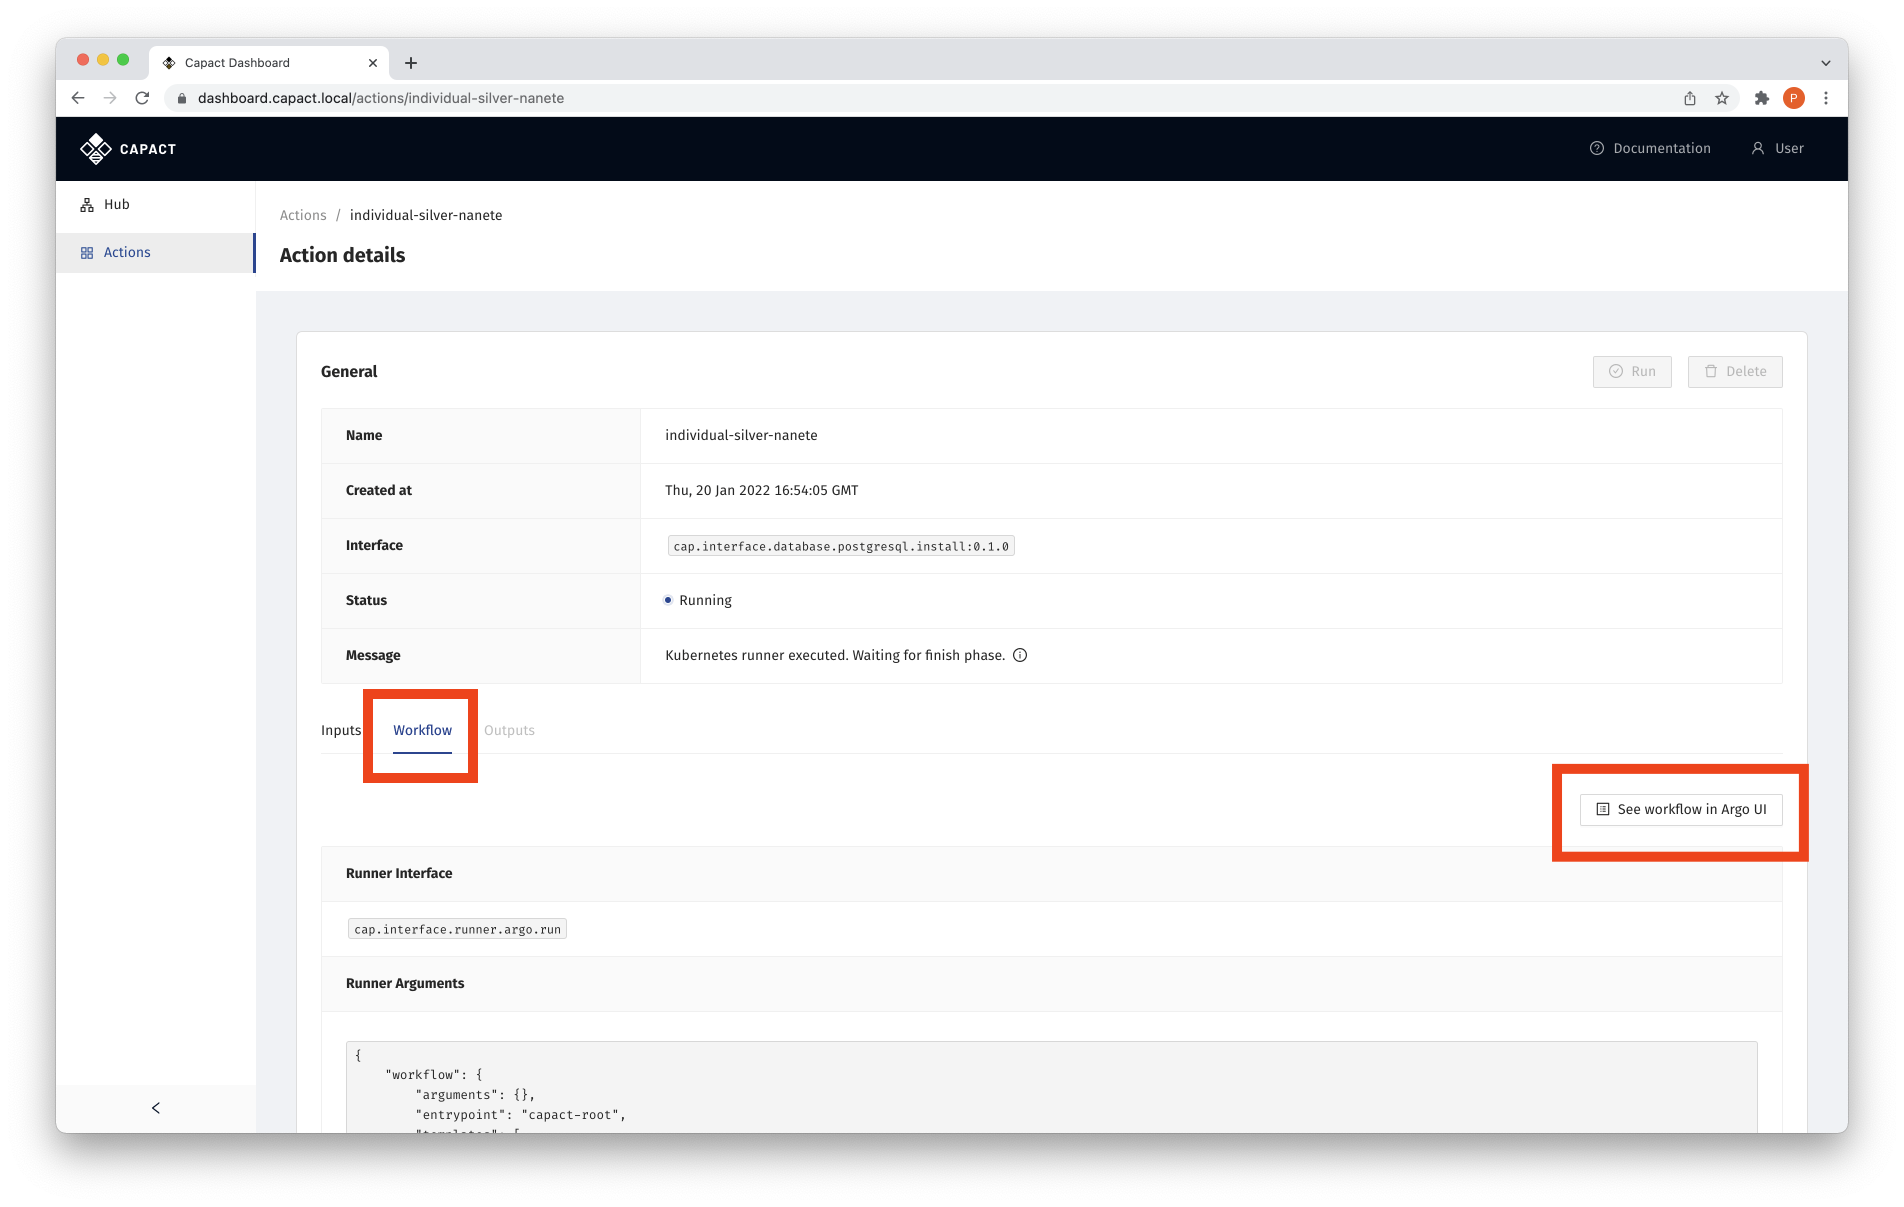
kubectl -n capact-system port-forward svc/argo-argo-workflows-server 2746To see the Action workflow, switch to the Workflow tab in Action details view, and click the See workflow in Argo UI button. The button is clickable only if Action has been already run.
Delete Action
To delete a given Action, click the Delete button. Click Yes button in the confirmation tooltip.
