RocketChat installation
This tutorial shows the basic concepts of Capact on the RocketChat installation example.
Goal
This instruction will guide you through the installation of RocketChat on a Kubernetes cluster using Capact.
RocketChat depends on the MongoDB database.
The diagram below shows the scenario:

Prerequisites
- Capact cluster installed, for example on AWS EKS. See also GCP cluster installation guide.
NOTE: For AWS EKS Capact installation, all operation need to be run from the bastion host.
The following tools are required:
- Capact CLI installed.
kubectlinstalled.helminstalled.jqinstalled.
Install all RocketChat components in a Kubernetes cluster
Make sure to separate workloads
For a better performance and durability, it is recommended to run MongoDB and RocketChat on separate nodes. MongoDB is by default configured to prefer being run on nodes with label
node.capact.io/type=storage. We will also configure RocketChat affinity to not schedule pods on such nodes.Select any worker node and replace the
<NODE NAME>with the node name and run:kubectl label node <NODE NAME> node.capact.io/type=storageExport Capact cluster domain name as environment variable:
export CAPACT_DOMAIN_NAME={domain_name} # e.g. demo.cluster.capact.devCreate a file with installation parameters:
cat > /tmp/rocketchat-params.yaml << ENDOFFILE
host: chat.${CAPACT_DOMAIN_NAME}
replicaCount: 3
resources:
  requests:
    memory: "2G"
    cpu: "1"
  limits:
    memory: "4G"
    cpu: "1"
affinity:
  nodeAffinity:
    requiredDuringSchedulingIgnoredDuringExecution:
      nodeSelectorTerms:
      - matchExpressions:
        - key: node.capact.io/type
          operator: NotIn
          values:
          - storage
ENDOFFILE
Create an Action:
capact action create cap.interface.productivity.rocketchat.install \
--name rocketchat \
--parameters-from-file /tmp/rocketchat-params.yaml
Get the status of the Action from the previous step:
capact action get rocketchatWait until the Action is in
READY_TO_RUNstate. It means that the Action was processed by the Engine, and the Interface was resolved to a specific Implementation. As a user, you can verify that the rendered Action is what you expected. If the rendering is taking more time, you will see theBEING_RENDEREDphase.Run the Action.
In the previous step, the Action was in the
READY_TO_RUNphase. It is not executed automatically, as the Engine waits for the user's approval. To execute it, execute:capact action run rocketchatWatch the Action:
capact action watch rocketchatWait until the Action is finished.
Once the Action is succeeded, view output TypeInstances:
capact action status rocketchatOpen the RocketChat UI using the host value from the previous step.

🎉 Hooray! You now have your own RocketChat instance installed. Be productive!
Validate RocketChat high availability setup
NOTE: The following steps are optional. In this tutorial we used AWS EKS Capact installation and all instructions will be based on this setup.
Now, let's validate the high-availability setup for the RocketChat.
Non-disruptive tests
Here we are simulating maintenance actions which should not disrupt RocketChat. Non-disruptive actions for example are:
- Rolling update of RocketChat.
- Scheduled Node maintenance where pods are evicted from the node.
- Rescheduling pod to another node.
List RocketChat pods
kubectl get pod -l app.kubernetes.io/name=rocketchatSelect two random pods from the list above and delete them.
Use
kubectl deletecommand. For example:kubectl delete pod rocketchat-1617956008-rocketchat-5b45b74f77-pncckNOTE: Make sure that at least one pod is in Ready state.
Verify if RocketChat is still running without any disruption.
Disruptive tests
Here we are simulating scenario when Kubernetes lost a connection to one of the worker nodes.
Make sure that MongoDB and RocketChat pods are running on different nodes.
To list pods and assigned nodes run:
kubectl get pod -o wideMake sure that the pod with
public-ingress-nginxprefix is not running on the same nodes as RocketChat.kubectl -n capact-system get pod -o wideGet a list of nodes where RocketChat pods are running:
kubectl get pod -o go-template --template='{{ range .items}}{{.metadata.name}} - {{ .spec.nodeName }}{{"\n"}}{{end}}'Choose one of them and note the node name.
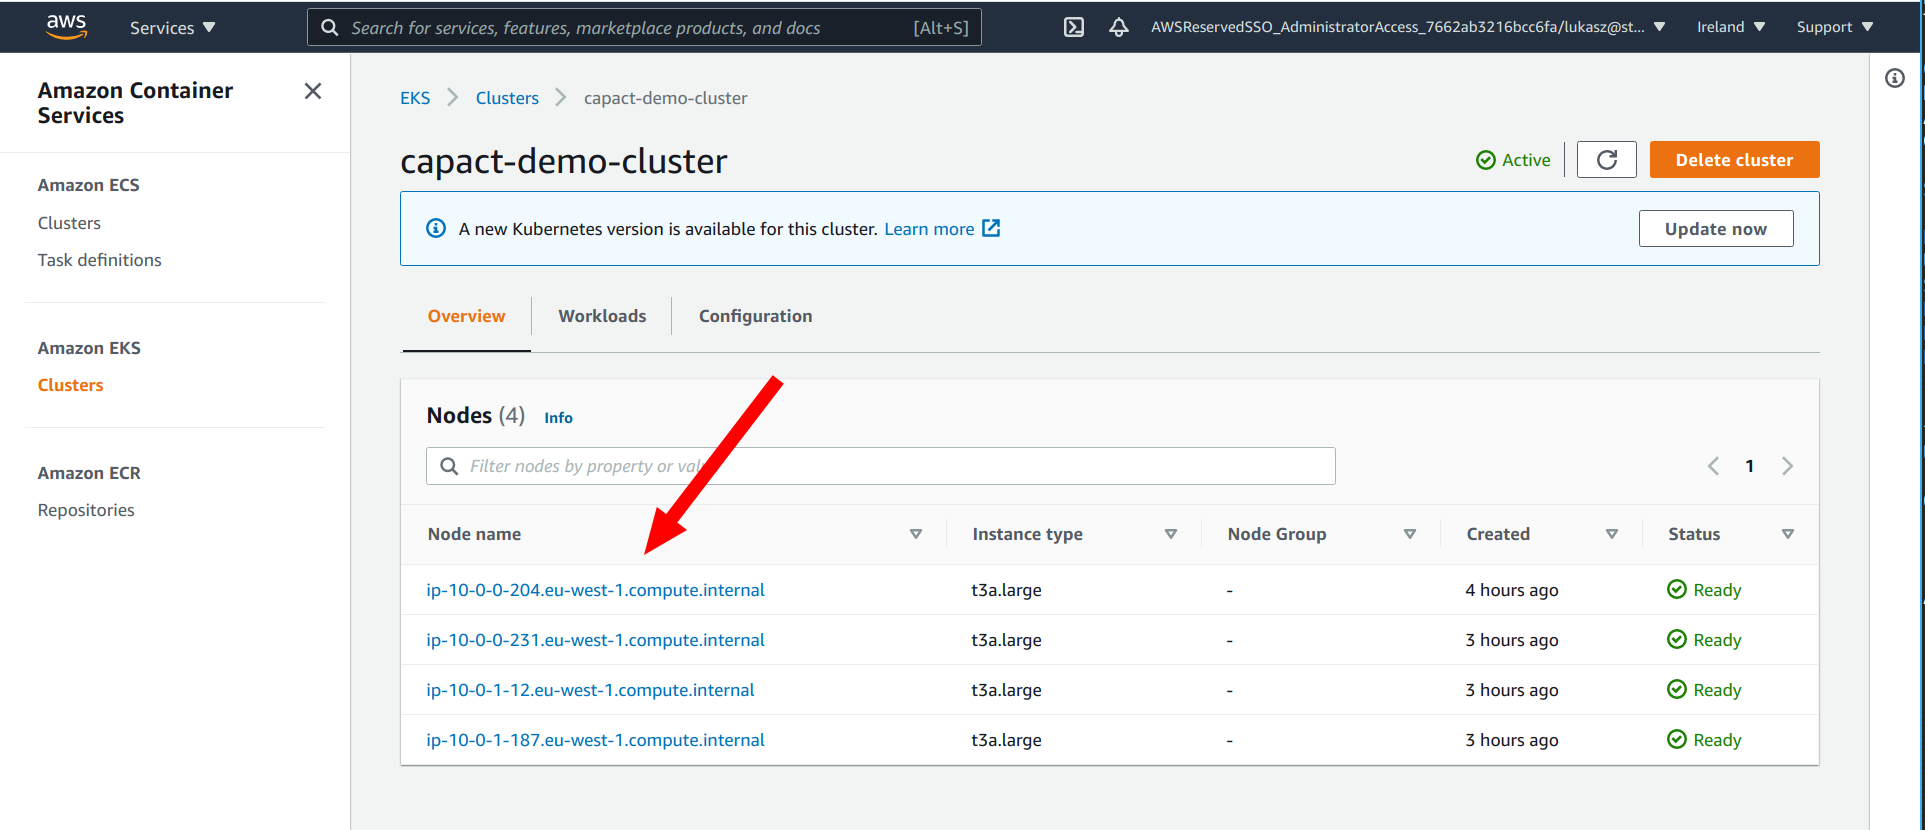
Terminate the selected worker node from the EKS console.
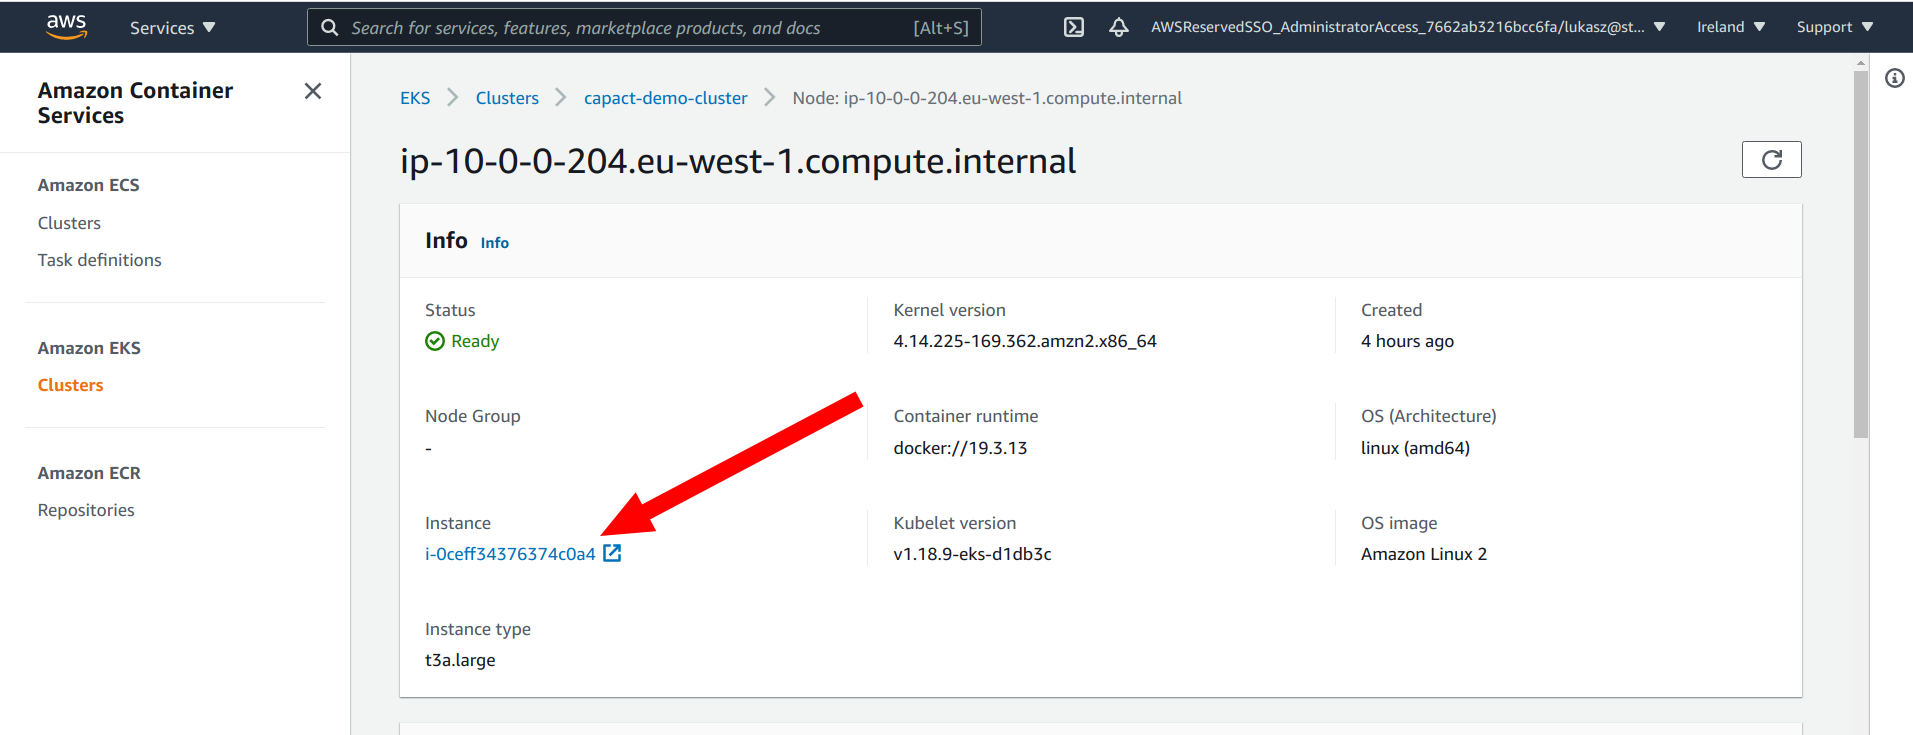
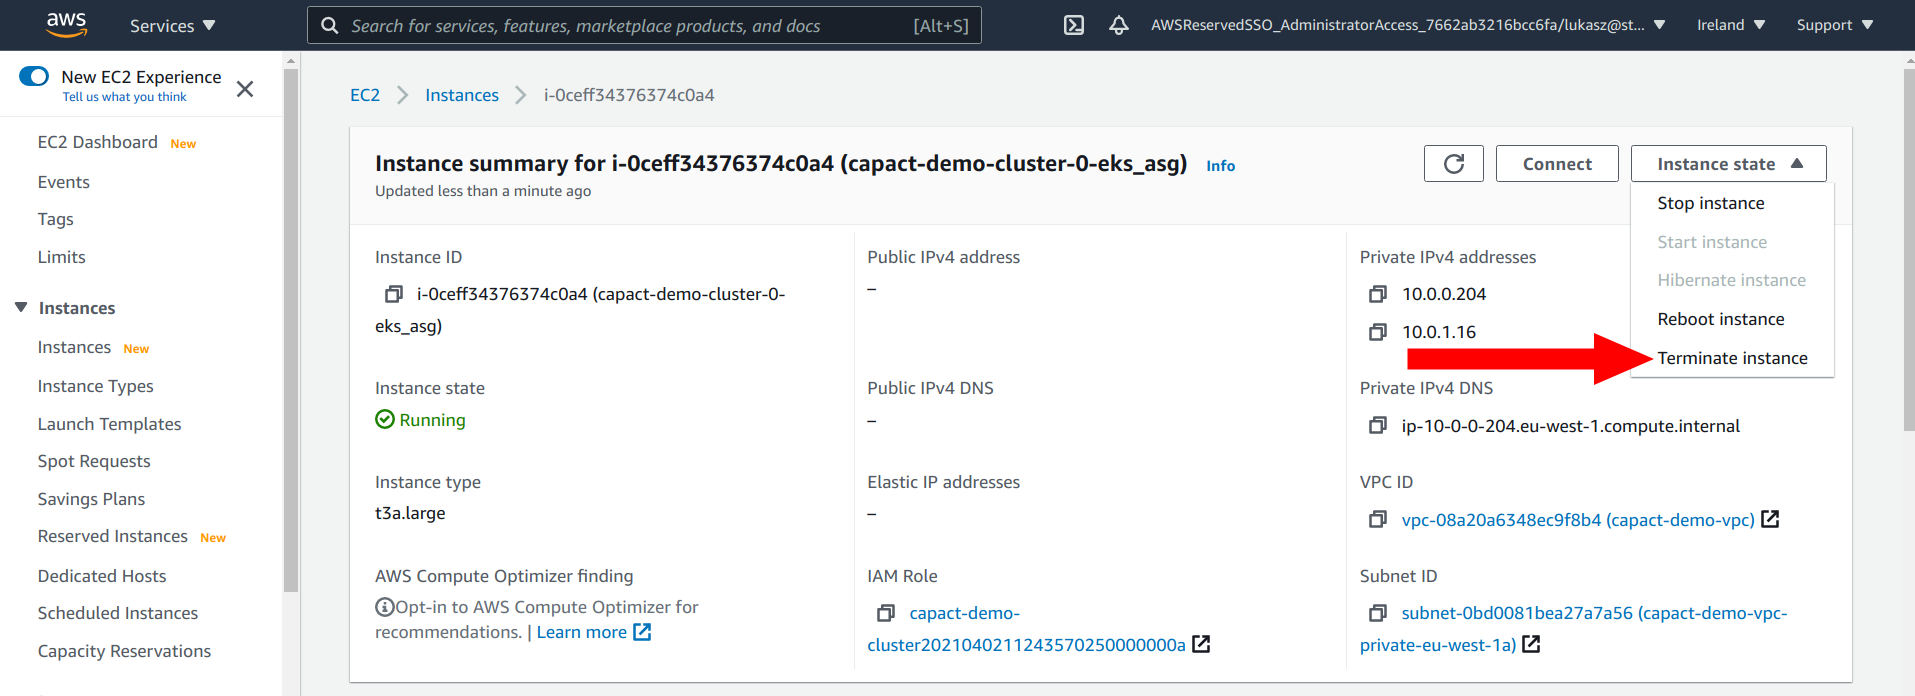
To terminate note go to the cluster main page. In the Overview section click on the selected node. In the Info section click a link under Instance name. New tab will be opened. From the menu in the top right select Terminate instance option
Open the RocketChat site again using provided host during RocketChat installation. It should be still accessible.
NOTE: Depending on which node will be deleted and to which RocketChat Pod you are connected, it may take up to 30 seconds for Kubernetes to change configuration. During that time RocketChat may not be available.
Clean-up
⚠️ CAUTION: This removes all resources that you created.
When you are done, remove the Action and Helm charts:
capact action delete rocketchat
helm delete $(helm list -f="rocketchat-*|mongodb-*" -q
Additional resources
See the (Content Development guide](/docs/0.4/content-development/guide), to understand how to develop OCF content for Capact.
If you want to learn more about the project, check the capact repository.